Recording Calls
In Making and Receiving Phone Calls we learned how to use SWML and cXML Scripts to define what should happen when a call is received by one of your SignalWire numbers. In that case, we just played some audio. In this article, instead, we will use the same technique to record the audio of the call.
Recording calls with SignalWire
- SWML
- cXML
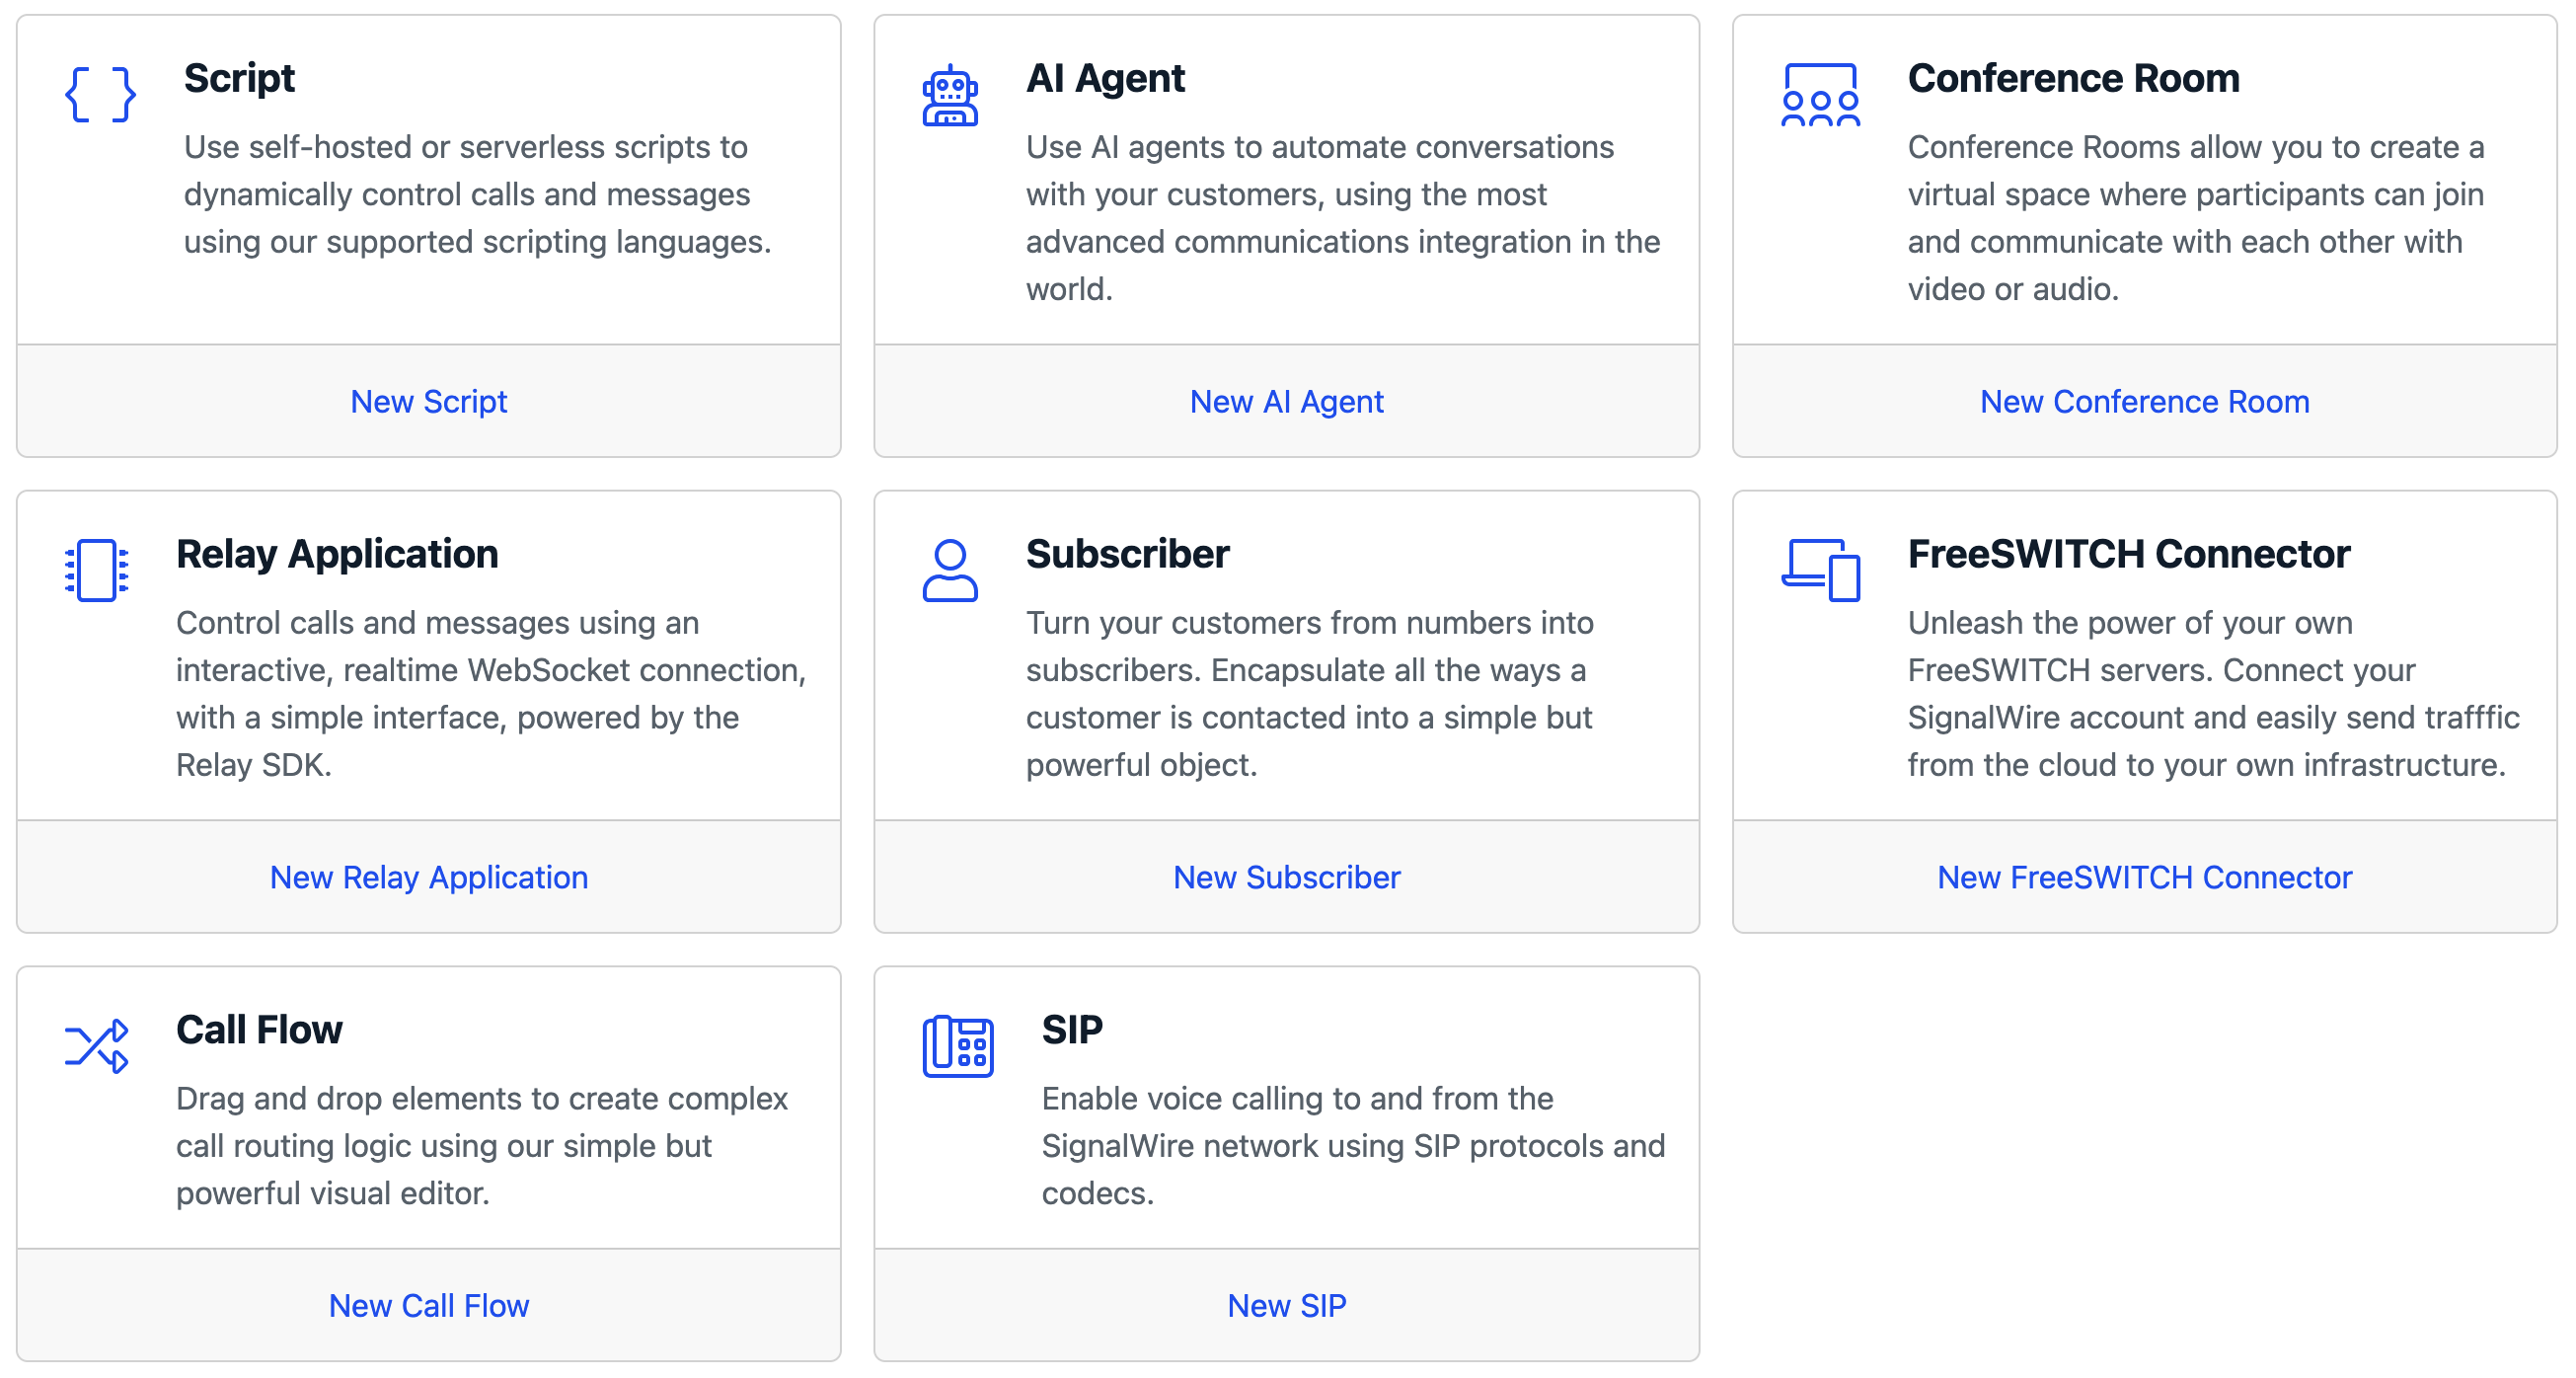
We are going to define the instructions for recording the call in a SWML script hosted on SignalWire. To create a new SWML script, navigate to the Resources section from your sidebar. From there, create a new script, and select the SWML option.
Create a new script, and paste the following SWML in it:
- YAML
- JSON
version: 1.0.0
sections:
  main:
    - record_call:
        format: mp3
        direction: "both"
    - play:
        url: 'say: Welcome to SignalWire. You should hear this in your call recording.'
{
  "version": "1.0.0",
  "sections": {
    "main": [
      {
        "record_call": {
          "format": "mp3",
          "direction": "both"
        }
      },
      {
        "play": {
          "url": "say: Welcome to SignalWire. You should hear this in your call recording."
        }
      }
    ]
  }
}
We used the record_call method to start the recording in the background, then the play method to play a text-to-speech message.
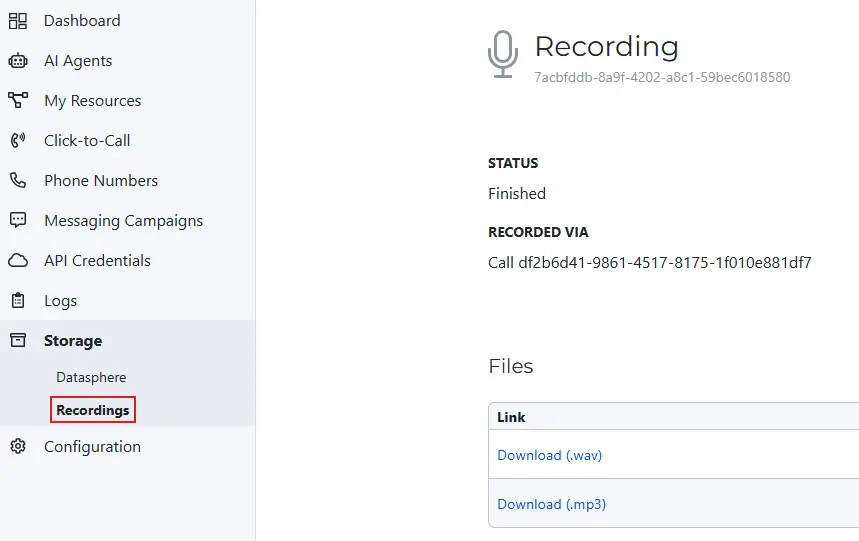
The recording will be available from your SignalWire Space in the Storage section, within Recordings.
The record_call method accepts parameters to configure the format, direction of the recording, terminators, and more.
For additional information, see the record_call technical documentation.
We are going to define the instructions for recording the call in an cXML bin hosted on SignalWire. To create a new cXML bin, navigate to the Resources section from your sidebar. From there, create a new script, and select the "cXML" option.
Create a new script, and paste the following XML in it:
<?xml version="1.0" encoding="UTF-8"?>
<Response>
    <Record />
</Response>
We used the <Record> verb to start the recording, which will then be available from your SignalWire Space in the Storage section, within Recordings.
The <Record> verb accepts a large number of optional attributes which can be used to notify the state of a recording to an external URL, to define a set of keys that will stop the recording, to enable voice transcription, and much more.
Check out the technical documentation.
If you're still on Legacy UI, refer to Making and Receiving Phone Calls for detailed instructions on creating a cXML Bin in the Legacy UI.
Assigning the script to a SignalWire phone number
The final step is to configure one of your SignalWire phone numbers to answer calls using the SWML or cXML Script we just created. You can do that from the Phone Numbers section:
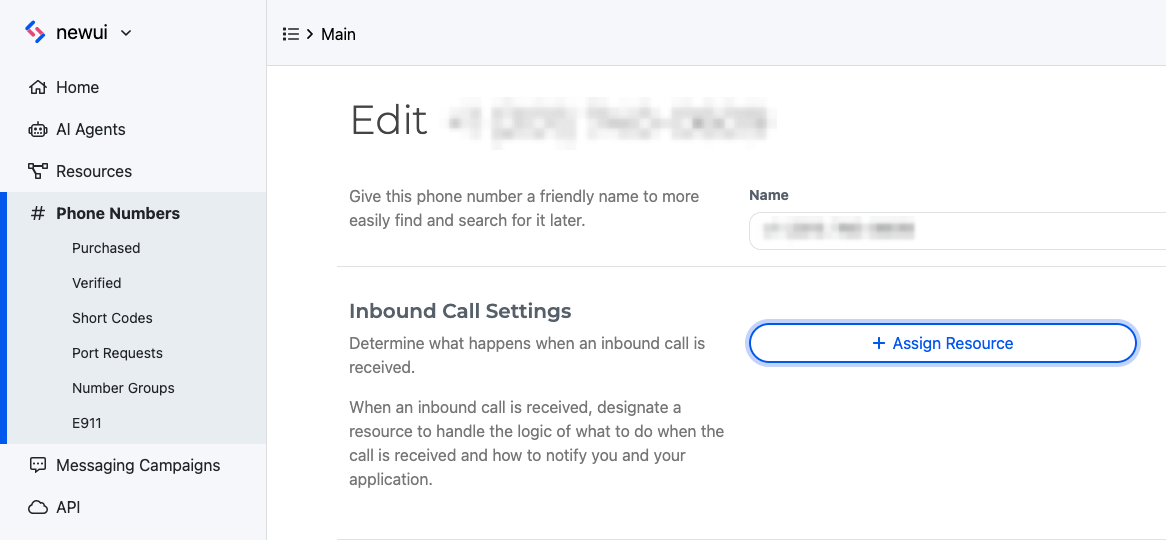
Refer to Making and Receiving Phone Calls for more information about this step.
Conclusion
You are now ready to test the call recording script.
SWML scripts and cXML bins offer a quick and easy way to get started with common use cases. If you are an advanced developer, or you need more flexibility and real-time control on your calls, you may be interested in our guide about how to make and receive calls in Node.js.